
ALPACA
ALPACA is a free and open-source framework for creating point and click adventure games. It supports multiple target platforms like Windows, Linux, MacOS, Android, iOS and Nintendo Switch. ALPACA utilizes multiple other tools to provide its features:
- Spine - 2D animation for games (commercial)
- Schnack - a node-based dialog editing system (zlib license)
- JNGL - Easy to use cross-platform 2D game library for C++ (zlib license)
- Lua - a scripting language that is commonly used in game development (MIT license)
- Rhubarb Lip Sync (MIT license)
Documentation
The ALPACA documentation will help you to set up your first ALPACA game and teach you how to write Lua scripts for ALPACA games.
License
ALPACA is released under the zlib license.
Links
- ALPACA on GitHub
- Download ALPACA on Itch.io
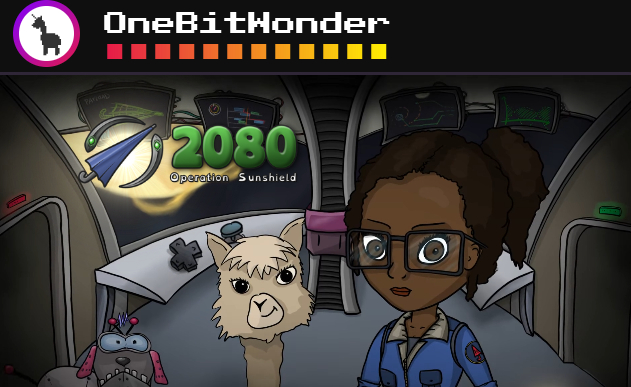
- OneBitWonder / "2080: Operation Sunshield" a game that is being developed using ALPACA.
- Demo scene (playable in the browser)
Contact
If you need help setting up your first project or want to talk about your game, book a time slot with the developers of ALPACA at calendly 🇩🇪🇬🇧 or mail me at kolja@portaldogs.com 🇩🇪🇬🇧.